This post tells you, how to deploy and execute python code written using web2py framework in
pythonanywhere web hosting service kind of cloud for python.
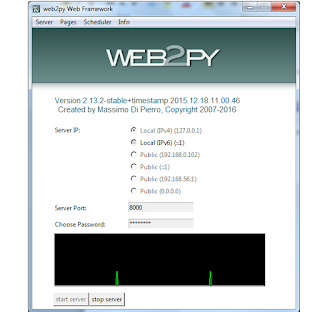
First write any sample code using web2py framework. Sample codes you can check my previous posts like getting started with web2py , blog app using web2py
Once you have completed the simple project, then we need to deploy the same using the cloud.
Web2py can be deployed any web hosting services, now we will look how we can deploy using https://www.pythonanywhere.com/

Click on Signup here! (if you are not sign up yet)

Click on Create a Beginner account and provide the required details, it is enough to post any details in internet.

After successful sign up and Login then, you can redirected to pythonanywhere

Click on DashBoard Then Click on Web

Now we need to create new web app (Click on Add anew web app).

Pythonanywhere will support so many python frameworks, Select the web2py , since we are implementing application using web2py.

Provide the password , which is required to access the application. It will created directory (/home/siva82k/web2py/) with my username
Click on Next, which will create url for you

Now you can check your application through internet, usually welcome application will be copied to your account.
My case my url will be http://siva82k.pythonanywhere.com, if you try to click on this you can redirected to your application.

Now it’s time to deploy our existing code into pythonanywhere site. First go to our application, where we have written our code, click on pack all as shown in below image.

Then save the code in local system.Once it is completed then go to your pythonanywhere site.
Click on Administrative Interface, and the provide the password, which you have given while creating web2py account.

After successful Login, it will redirected to below page

We need to upload the file into python anywhere site . Provide the details under upload and install packed application
I am providing Application name as sivaweb2py
Upload a package from your local system, Earlier where you have downloaded.
Then click on install, our application got installed on pythonanywhere machine.
Now what ever we did in local host machine same thing available in pythonanywhere internet.
You can check my previous posts related to web2py examples.
Earlier we checked Role based access, same thing we will check in pythonanywhere
Click on https://siva82k.pythonanywhere.com/sivaweb2py/blog/view
It will ask the username and password , in my case I have provided user only (siva82k@gmail.com), have access to post the blog.
https://siva82k.pythonanywhere.com/sivaweb2py/blog/post

If we provide correct user name and password, it will take us to post the blog.

If we provide other details, other than post access then it will say you are not authorized.

One more example which we have worked earlier, basics to add the 2 numbers
https://siva82k.pythonanywhere.com/sivaweb2py/basics/request_args/10/20

We can test whatever we did in our previous examples in local system, same thing available in internet.
This is how we can deploy our web2py code using pythonanywhere.
Thanks for viewing this post